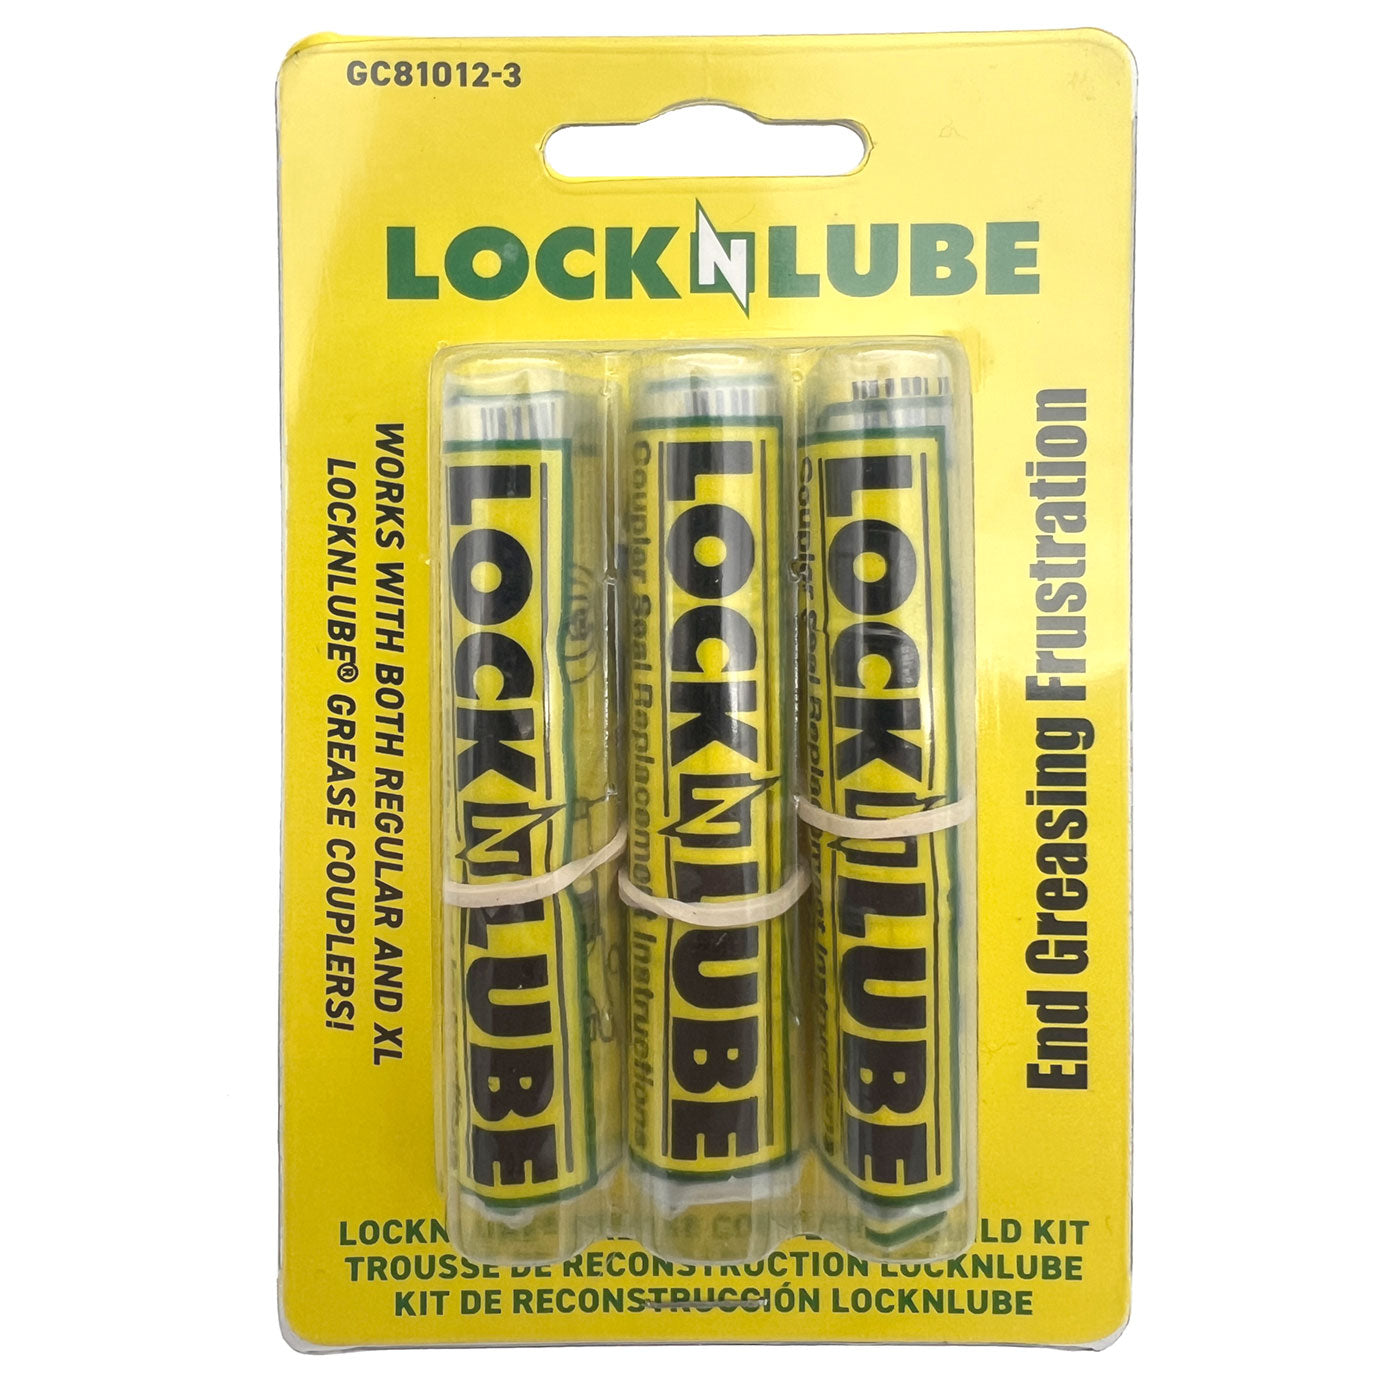
LockNLube® Grease Coupler Rebuild Kit
SKU: GC81012
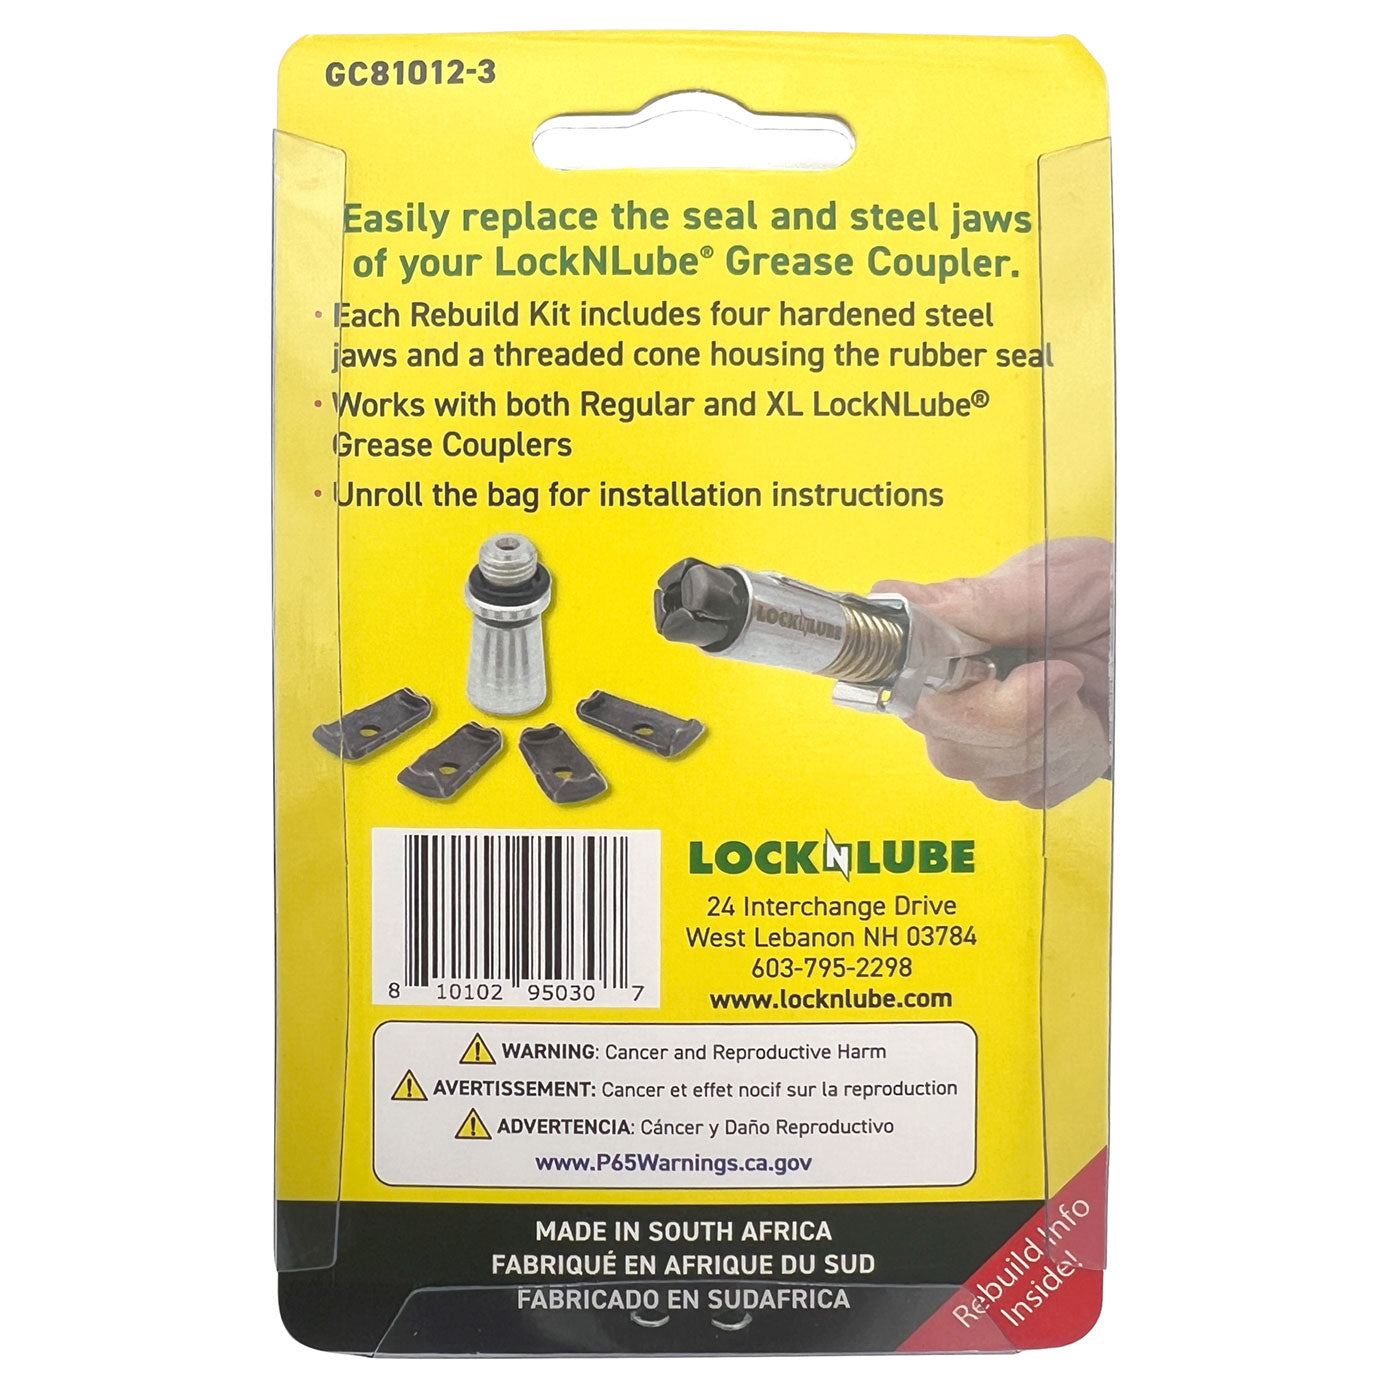
Extend The Life of Your Grease Coupler by Replacing The Seal and Steel Jaws.
Get Back to Greasing Faster with Less Downtime!
- Easily replace the seal and steel jaws on your LockNLube Grease Coupler
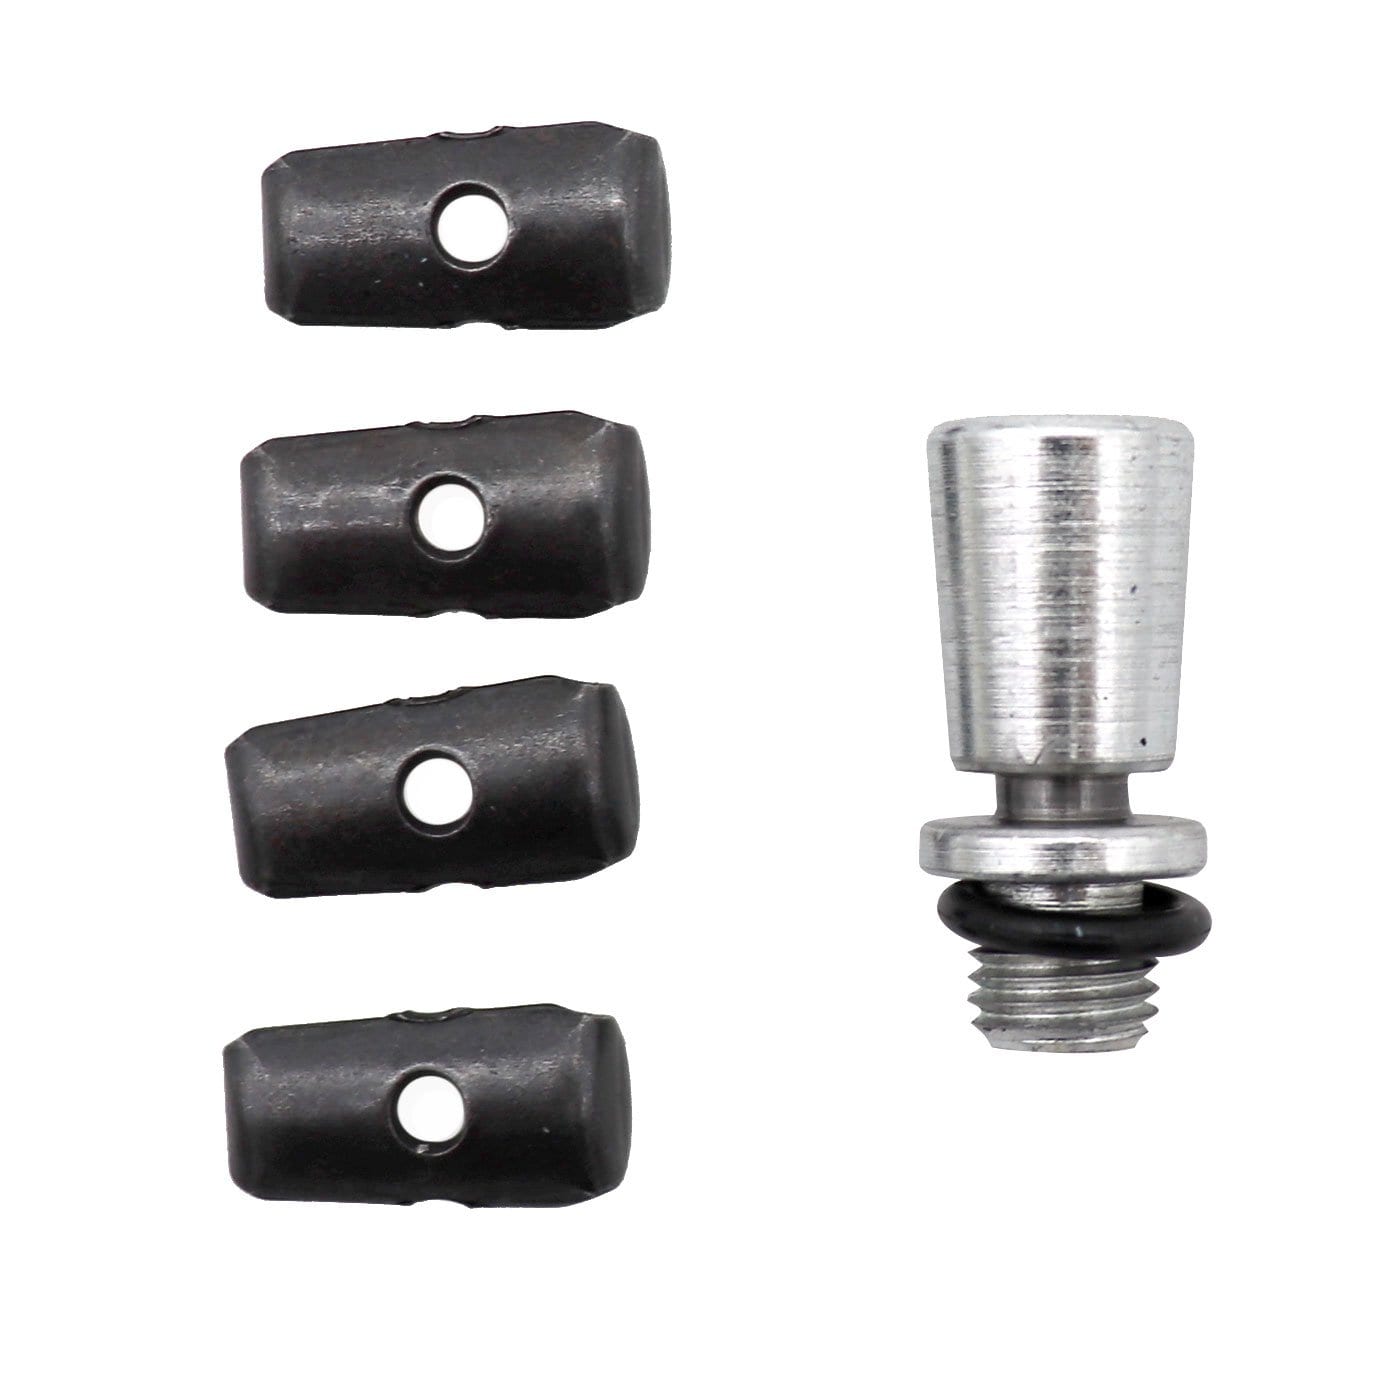
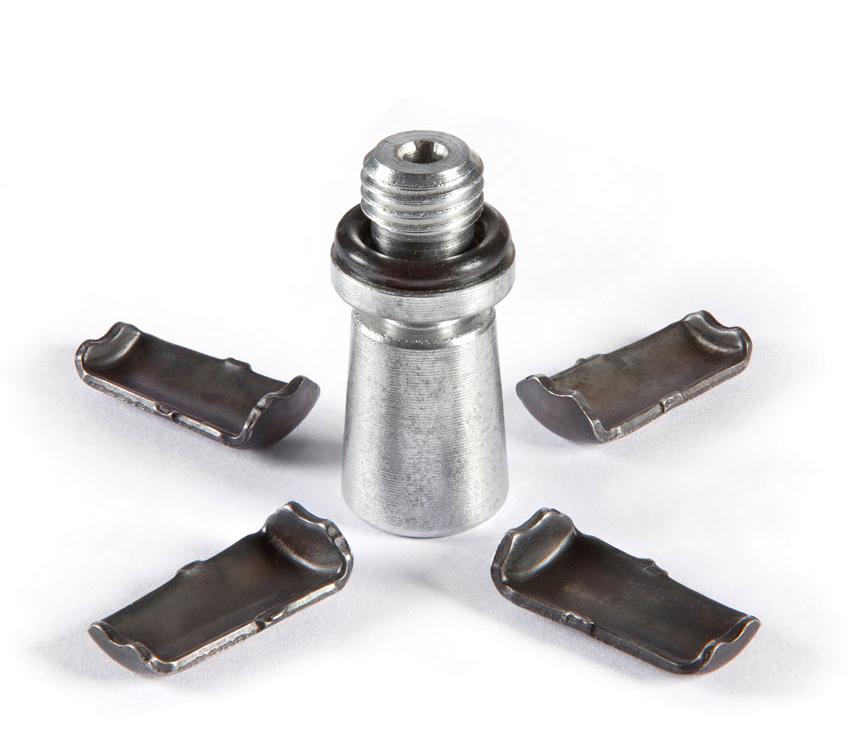
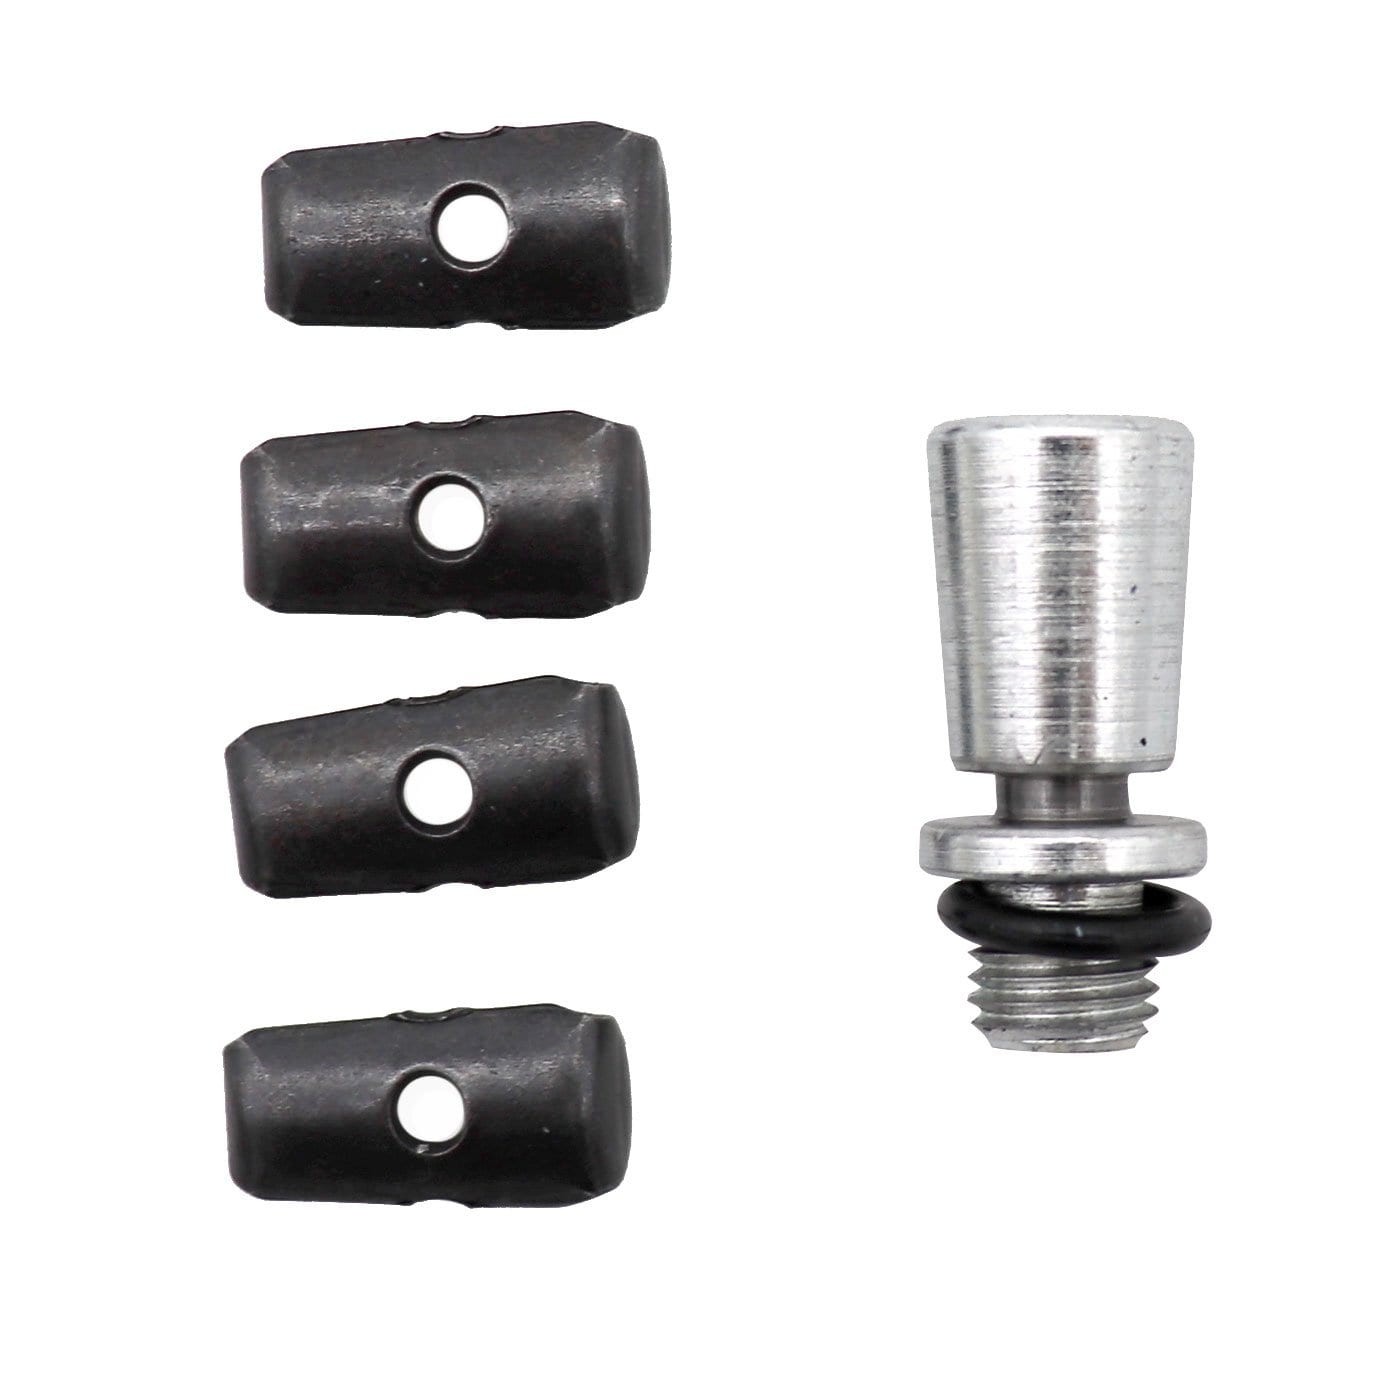
- Each Rebuild Kit includes four hardened steel jaws and a threaded cone housing the rubber seal
- Works with either the standard or XL LockNLube Grease Coupler
Free U.S Shipping on Order $25+
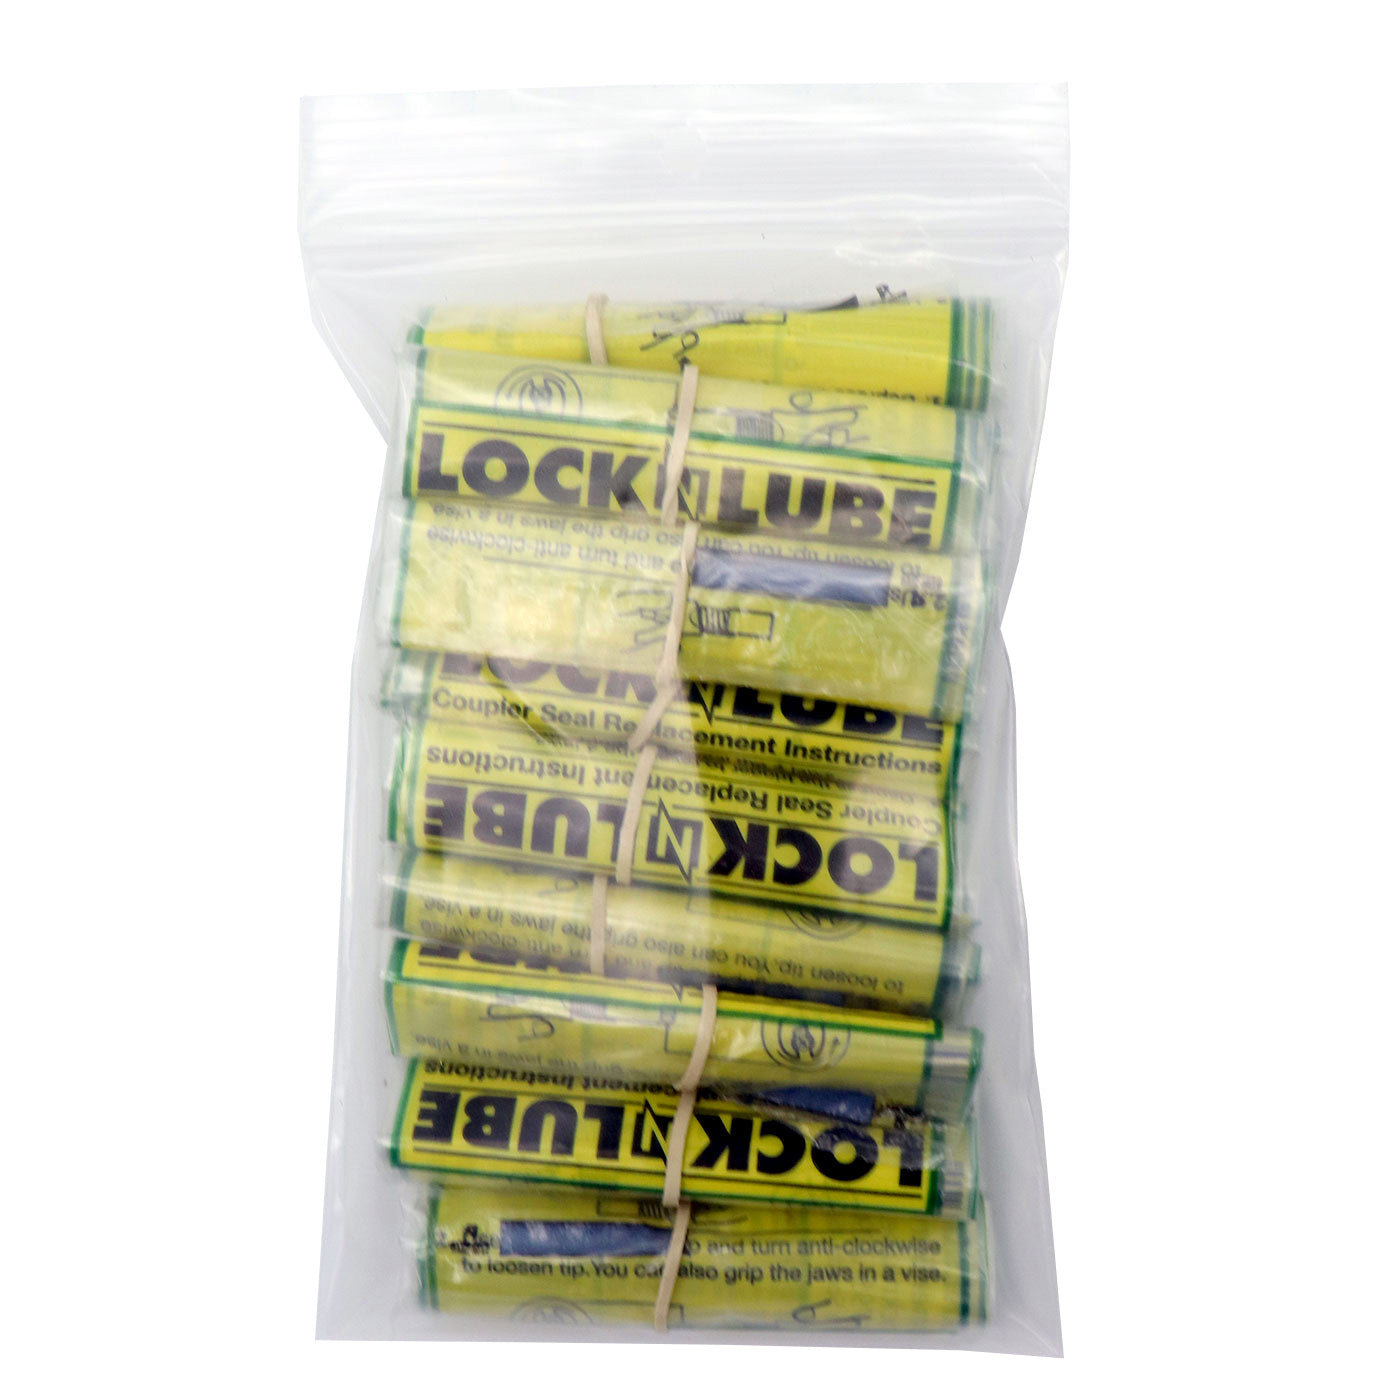
See how easy it is to replace the seal and steel jaws on your LockNLube® Grease Coupler
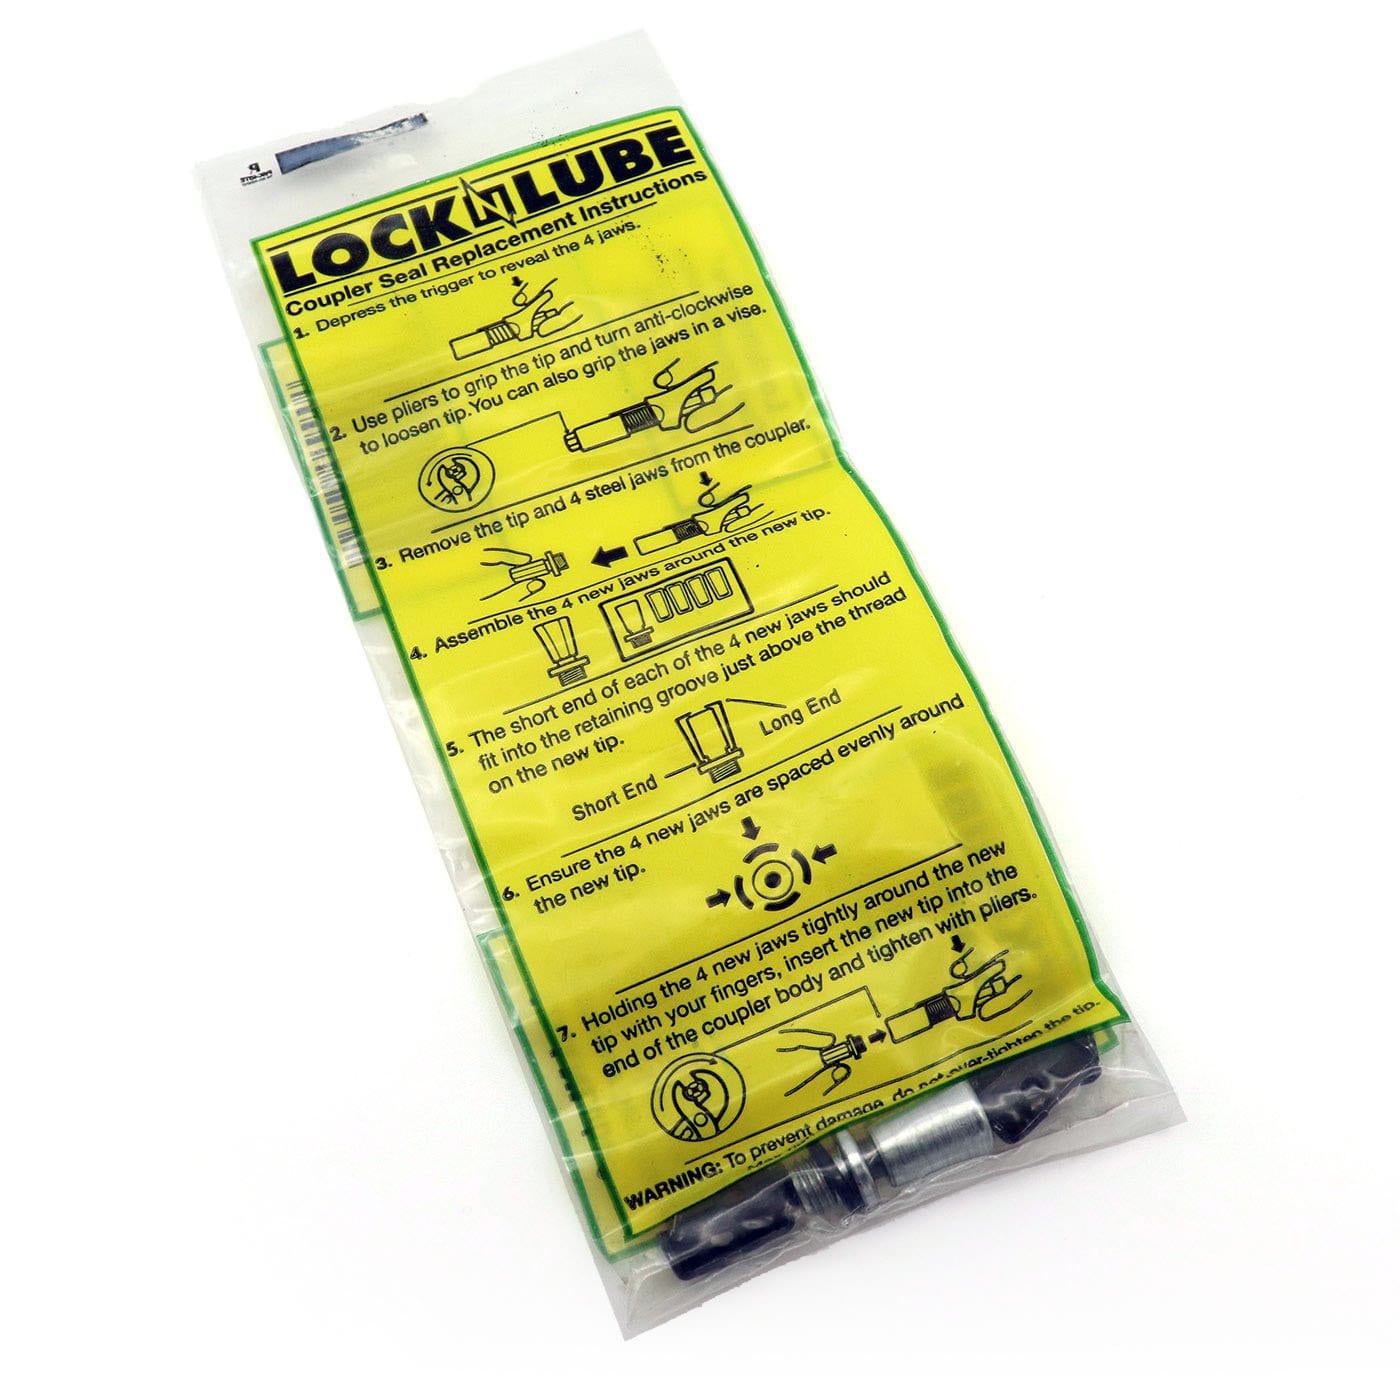
STEP-BY-STEP INSTRUCTIONS FOR CHANGING THE SEAL ON YOUR LOCKNLUBE® GREASE COUPLER
STEP 1 – SQUEEZE THE LEVER TO DETERMINE WHERE TO ATTACHED THE VISE OR VISE-GRIP PLIERS

When squeezing the lever, see the portion of the flat steel exposed at the base of the coupler. This is where you will attach your vise or vise-grip pliers.
STEP 2 – ATTACH THE VISE OR VISE-GRIP PLIERS TO THE LOCKNLUBE® GREASE COUPLER

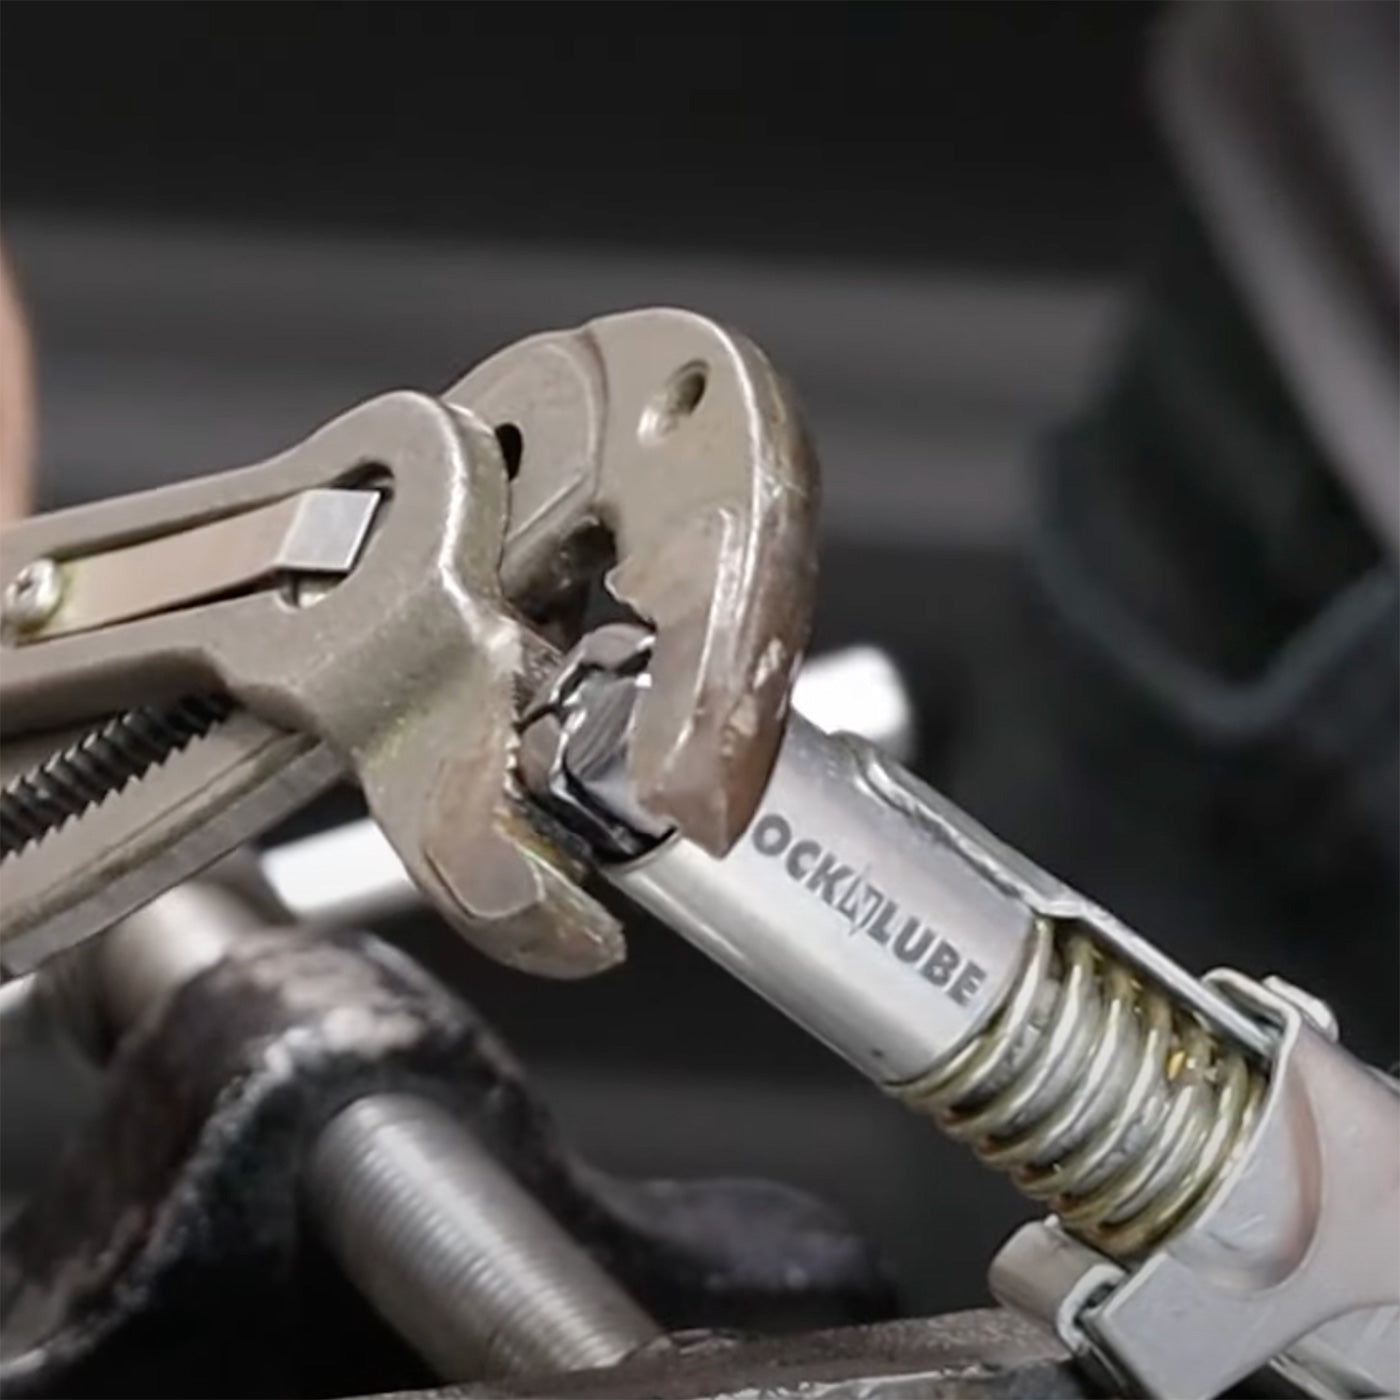
The vise, or pliers, will only have a small piece of the coupler to attach to, so don’t be afraid to crank down on them and get a tight grip. When depressing the lever, you can see that the steel jaws of the seal kit are exposed and ready to be replaced.
STEP 3A – REMOVE OLD SEAL KIT

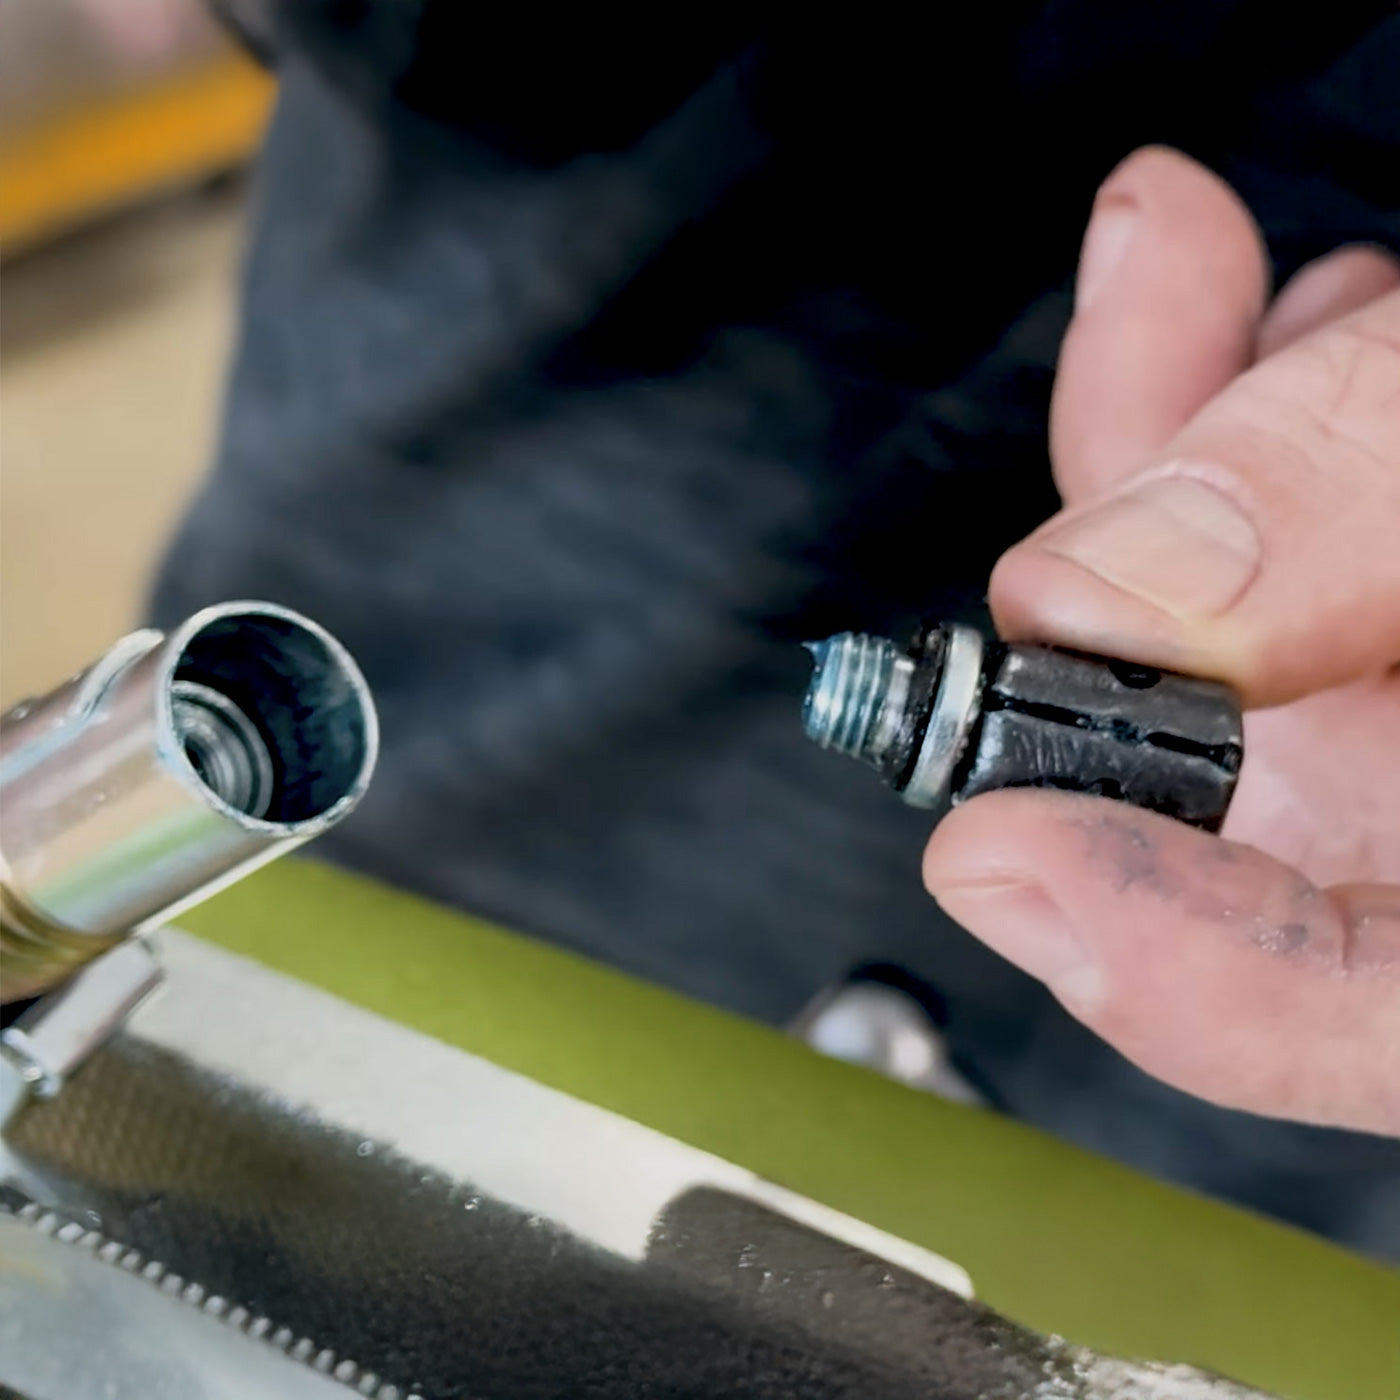
Using a pair of vise-grip pliers, get a very firm grip on the steel jaws of the seal kit. Because the jaws will be greasy and may rotate, you’ll need to really squeeze them. Don’t worry about damaging the jaws or the interior cone with your wrench, as these will all be replaced in a moment. Once you have loosened the interior cone by rotating the pliers counterclockwise, you can remove the pliers and continue to twist with your fingers.
STEP 3B – REMOVE OLD SEAL KIT

After loosening the inner cone you can remove the seal kit by hand by continuing to pinch and twist the steel jaws until they can be removed.
STEP 4 – ASSEMBLE THE NEW SEAL KIT

The steel jaws have one edge larger than the other, this is the edge that should go at the top (large end) of the cone. Placing a small amount of grease on the inner cone first can help to ensure that the jaws stick and don’t fall out before being placed in the LockNLube® Grease Coupler.
STEP 5 – INSERT THE NEW SEAL KIT
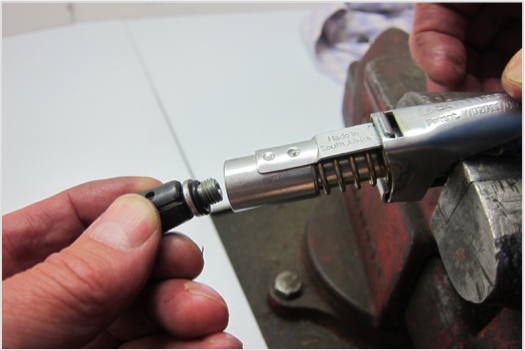
Holding the four steel jaws in place, put the new seal kit into the LockNLube® Grease Coupler. Once inserted, then can be twisted by hand until the jaws start to slip on the inner cone.
STEP 6 – TIGHTEN THE NEW SEAL KIT USING VISE-GRIP PLIERS

You should loosen your pliers before gripping the new seal kit. Unlike the removal process, you should be able to tighten the new seal kit without applying too much pressure. Once the inner cone feels snug, you are ready to use your LockNLube® Grease Coupler again.
- Shipping options are available at checkout
- All of our orders ship out of either our Illinois or New Hampshire warehouse within 3 business days.
- Shipping carrier varies by size and weight of the package.
- LockNLube's shipping department operates Monday through Friday, 8 am to 2 pm EST except for holidays.
- Reviews
- Questions
- grease gun
- locknlube
- rebuild kit
- something
- couplers
- zerk
- fitting
- Dewalt
- Works
- hose
LockNLube Grease Coupler Rebuild Kit
Bought this with a LockNLube Grease Coupler to go on my new Dewalt cordless grease gun. With the quality of the LockNLube Grease Coupler, it will be a long time before I need to use it.
New grease gun purchase.
Ordered new grease gun online: gun arrived, but no rebuild kit included in the packaging. Contacted your help line and nice lady explained why, and promptly sent me a rebuild kit.
Rebuild kit
Haven't had to utilize the rebuild kit as of yet. But, I'm confident it'll be top notch. Thank you for sending it promptly.
Works great unless its high pressure applications
Love the LockNLube coupler, and their other adapters, and it works fantastic on zerks that take grease freely. However, when we use it on zerks that resist or are plugged, our battery powered grease guns end up blowing the inner seal and it just makes a mess then you have to chance it out again. Regular applications it will last a long time but on the farm they don't seem to last as long when we constantly use them. It took me two rebuild kits to get thru our air seeder in one evening. Gets costly when having to put new kits in regularly.

